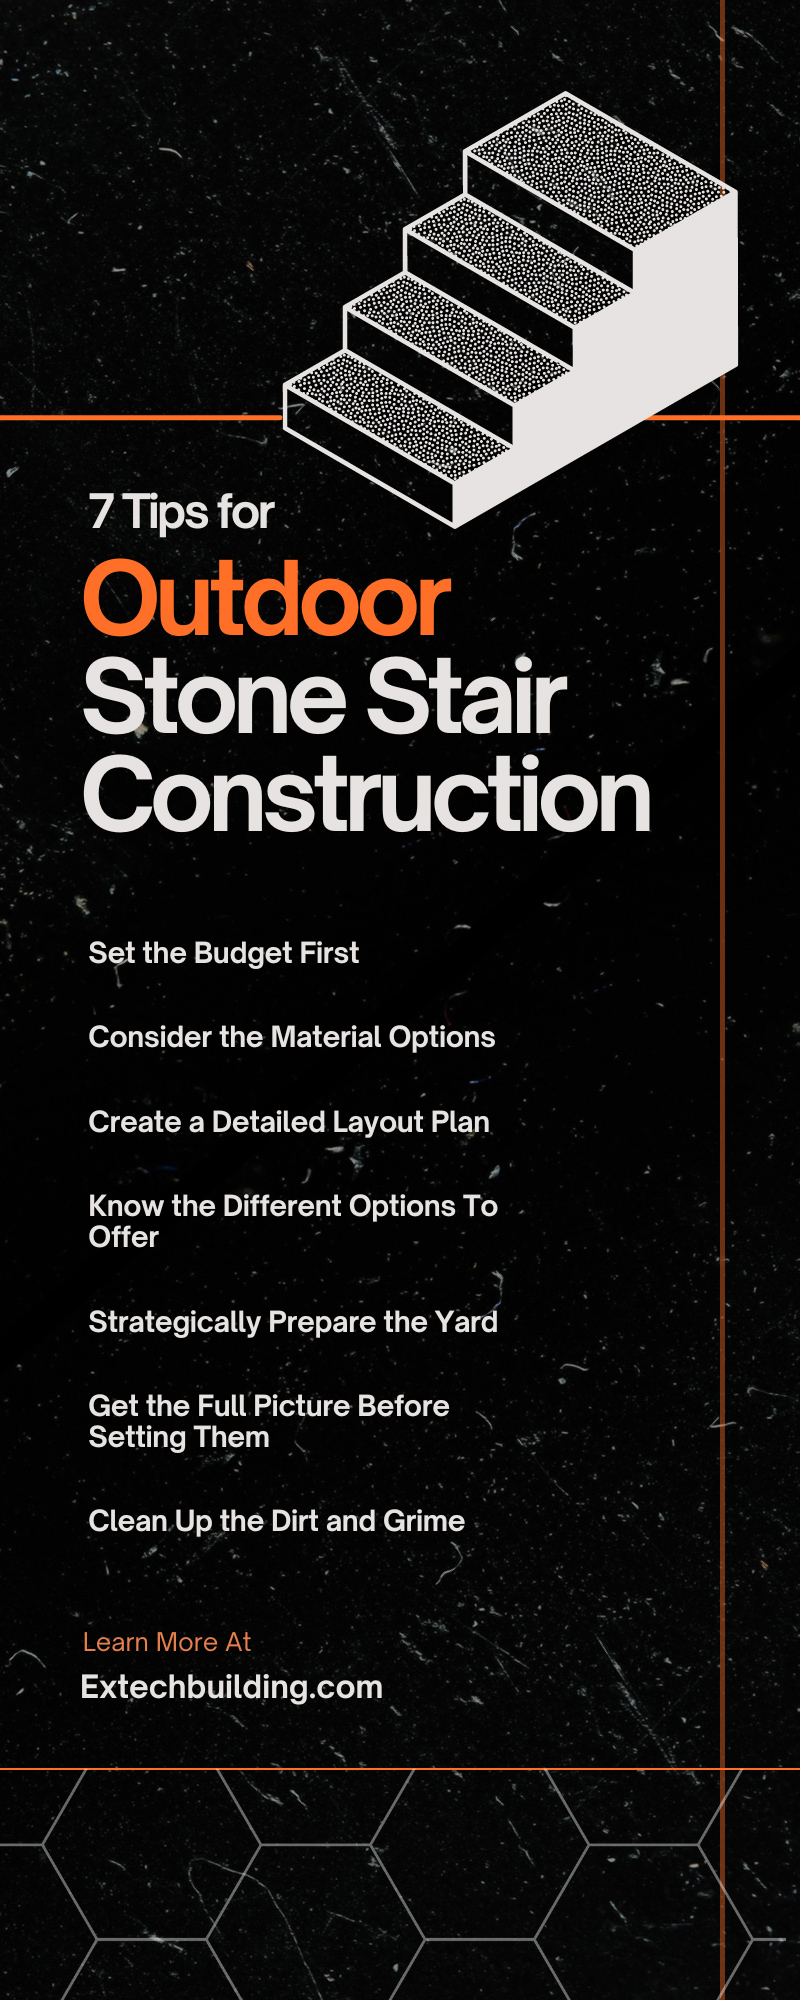
7 Tips for Outdoor Stone Stair Construction

Embracing someone’s backyard and transforming it into a desirable green space is a fulfilling point of the job. Watching your client’s blueprint come to life through your hard work is always amazing. From limestone to granite to bluestone, you can create the best outdoor stone stairs with these seven tips for outdoor stair construction.
In this article, we will discuss how you can make the construction process more efficient and create a better experience for your client. These natural stone steps are the focal point of many outdoor spaces and can help increase the property value of many homes and commercial properties around the country. Regardless of the design, our seven tips will allow you and your team to work efficiently on this project. Big or small, long or short, Extech Building Materials is always here to point you in the right direction. Let’s jump in!
Set the Budget First
It would be best if you always were transparent with your client, so setting a budget is important when constructing outdoor stairs. Make sure to budget accordingly, depending on the number of stairs you want and how many stairs you need. You and your client can sit down and talk about different alternatives or designs you can create to make their construction experience more affordable. Limestone and sandstone are two great options that are timeless and budget-friendly.
Consider the Material Options
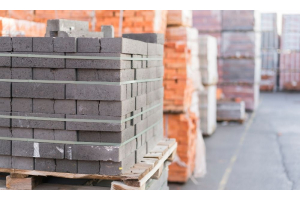
You can get any stone for the outdoor staircase. These organic materials are durable, pleasing to the eye, and can last a while if properly taken care of. You can use materials like sandstone, bluestone, granite, and limestone for your outdoor environment. You can get any of these stones in various colors and finishes that resist fading or damage. However, if you want to lay your stone in the soil or rock bed, you can use mortar stones or limestone to increase stability and safety.
Create a Detailed Layout Plan
Before you begin contraction, you and your client need to sit together to create a detailed layout of the yard and desired staircase. This is the most important step for outdoor stone stair construction because location can affect the entire look. After calculating the number of stone slabs needed and measuring the staircase’s rise distance and run length, you’re to create a layout that will help enhance the backyard.
To find the distance of the overall run, you would need to take measurements horizontally while ensuring you’re not taking it on an angle. Then, measure from the top of the potential staircase to the bottom.
Know the Different Options To Offer
You should always offer your clients the best options, regardless of their budget. Your possibilities should complement their yard and home, complementing the space and not overpowering it. If your client has elevated surfaces, adding a longer stairway might be the better option, as opposed to steps or a short stairway. This will make it safer for people to walk to their destination.
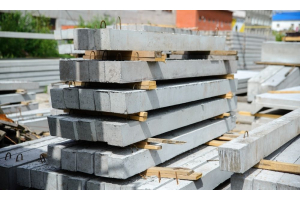
Traditional Slab Steps
This is a classic choice, especially for clients looking for an old fashion look. Each stair is the same shape and size but is well-structured. This makes the stairs fit seamlessly with the edge of the home or landscaped yard.
Natural Cut Stone
Most clients go with a natural cut stone like limestone or bluestone. This classic choice requires you to lay down the rock with its raw cut. The edges of each step will show its natural texture, giving a carved-edge look.
Floating Stone Steps
As the name describes, these stone steps have the illusion of floating above a water feature or landscaped areas. These steps are typically easy to construct, but they require strategic planning to ensure that they properly capture the illusion. With a support column built underneath, the path will be secure and safe for anyone.
Strategically Prepare the Yard
Before you can begin construction, you need to prepare the area. When you and the client created the layout for the outdoor stairs, you should’ve also created a strategy to excavate the yard. The yard size and the placement of the stairs are factors that determine which tools or machinery you need to clear the area successfully. Unless the yard is perfectly flat, you and your team will most likely need to dip deep into the home’s landscape.
Make sure to measure the height of the area where you will install the stairs—the total rise—and decide with your client if the stairs should include landings. If so, always work your way up, starting at the bottom half and working to the second floor.
Get the Full Picture Before Setting Them
After you’ve worked hard excavating the yard, we know you’re eager to finish the job and begin setting the stone into the ground. Before you pour your crushed limestone or sand, place a few stairs down to get the full picture. You and your client worked hard to bring this idea to life.
Showing your client how the stairs will look before permanently setting the stone will satisfy your client and help you gauge how to set the stone. Take this time to look back at your blueprints and models to ensure that you use the correct tools and techniques, as you won’t want any mistakes!
Clean Up the Dirt and Grime
Although stone staircases are durable, it’s important to remind your client to take care of the stone properly. This will ensure the style maintains a timeless and fresh look for as long as possible. They should rinse off the steps and sweep them regularly to prevent dirt and grime from building up. If dirt and other particles build, the stone’s color could be affected. Remind your client never to use harsh cleansers on the steps because it could chip away the finish and lead to damage, leading to more maintenance.
Upgrade your client’s backyard with high-quality limestone stair materials from Extech Building Materials. We offer everything you need, from custom stone products to winter maintenance tools. Check out our online store and contact us today for more information!

When you have openings in a structure, such as windows, doorways, or fireplaces, it’s essential that you make sure those openings can support the weight above them. In cases like these, where you need to guarantee structural stability, you must employ lintels and headers.